Repairing Your Own Camera
Many websites, articles and even books have been written on how to properly service your Contax II and III. Most notably Henry Scherer and other more generalist repair people like Richard Haw and Mike Elek. All of these repair people (and others that I haven't mentioned) have there own repair ideologies, which affect how they reccommend you repair your camera. Opinions span from "Anyone can repair a Contax with just oil and craft ribbon!" to "Nobody but me can repair a Contax properly and anyone else is fooling you!". The reality is a bit more complex.
First let me state something for the record. It is correct that the average hobbyist camera repair person cannot repair a Contax. A lot of the materials and know-how required is extensive. This is the same with nearly any camera. Often when repairing a camera, shortcuts are made in order to get a camera that works with the least amount of effort. This ideology is why many people fail to repair their Contax. It just doesn't work on these cameras. People open up their cameras, replace the ribbons with ones they found online (or for the cheapskates, ones from their nearest craft store) then wonder why their camera doesn't work. They then add oil (or god forbid WD40) to the shutter bearings and gears and wonder why their camera still doesn't work. They then crank up the spring tension on the lower shutter roller and break the spring before finally giving up.
In reality, repairing a Contax is a symphony of many well done repairs. If you're used to half-assed jobs, this isn't for you. If you are willing to listen, be cautious, and understand the inner workings of your camera, then you are on the right track. You will be able to repair your camera, with some assistance of course! Below I'll describe all the steps of a successful Contax repair.
Step 1: Before You Buy
One of the major factors in getting an end result that you're happy with is buying the right camera to begin with. If you buy a camera with a lot of scratches and mold, not only will it take more time to fix, but it will also be worth less with all the cosmetic wear it has endured. My advice is to find a cosmetically nice, but not perfect camera for a reasonable price. Nowadays I try to find them for under $100 CAD. Anything above $150 is not worth it for me unless it is in mint condition or comes with an equally nice lens. Once you get to know the market it becomes easier to spot a good deal, especially when you miss one! Looking for signs of mold is especially important. Scratches are only an issue if it looks like the camera has been mishandled or poorly repaired. Any mold will mean that the camera was likely in a damp environment, which means there is likely severe rust. Nothing unfixable, but it is just something to keep in mind. Mold is also good to look out for because it could mean unsalvageable leather or a necessary deep clean (as in full dissassembly). Leather is also of note because a camera with good condition leather is significantly more desirable and likely in better internal condition than one without. Make sure to buy a camera with undamaged leather, as it is the one thing that you cannot easily replace.
Step 2: The Kiev Acknowledgement
There is one very important thing to know when buying and repairing a Contax. Under no circumstance may you either buy or make a camera with parts from a Kiev 2, 3 or 4 in it. While these parts may seem authentic and while they may fit and work just fine in your camera, it is immoral to use them. This is especially true for the shutter mechanism. Unscrupulous camera sellers swap shutters in Contaxes with those of a Kiev 4, making a camera that "works" without any of the effort. I put "works" in quitations because these cameras never truly work. The shutters in a Kiev 4 are a few millimeters wider than that of a Contax II to incorporate flash synchronisation, and so they don't quite fit. Other differences exist as well that mean your camera will not function as intended. In order to get the best results, Use only parts from Contax II and III cameras.
In order to make sure that you don't fall victim to this Kiev scam, never buy Contax cameras out of the Ukraine, and ensure that the camera you're buying presents as a genuine Contax. This means no flash synchronisation, no film speed selector on the rewind knob, no Contax IIa style film door keys on the base of the camera and also no leather without a "Zeiss Ikon" stamp. This type of sleuthing can only take you so far. If someone has swapped the shutter you will only be able to tell if you dissassemble the camera. To avoid this specific trick, only buy cameras from reputable sellers or in "for parts" condition. This is the magic of doing your own repairs. You can be sure that the camera you're getting is 100% German.
Step 3: Starting Your Repairs
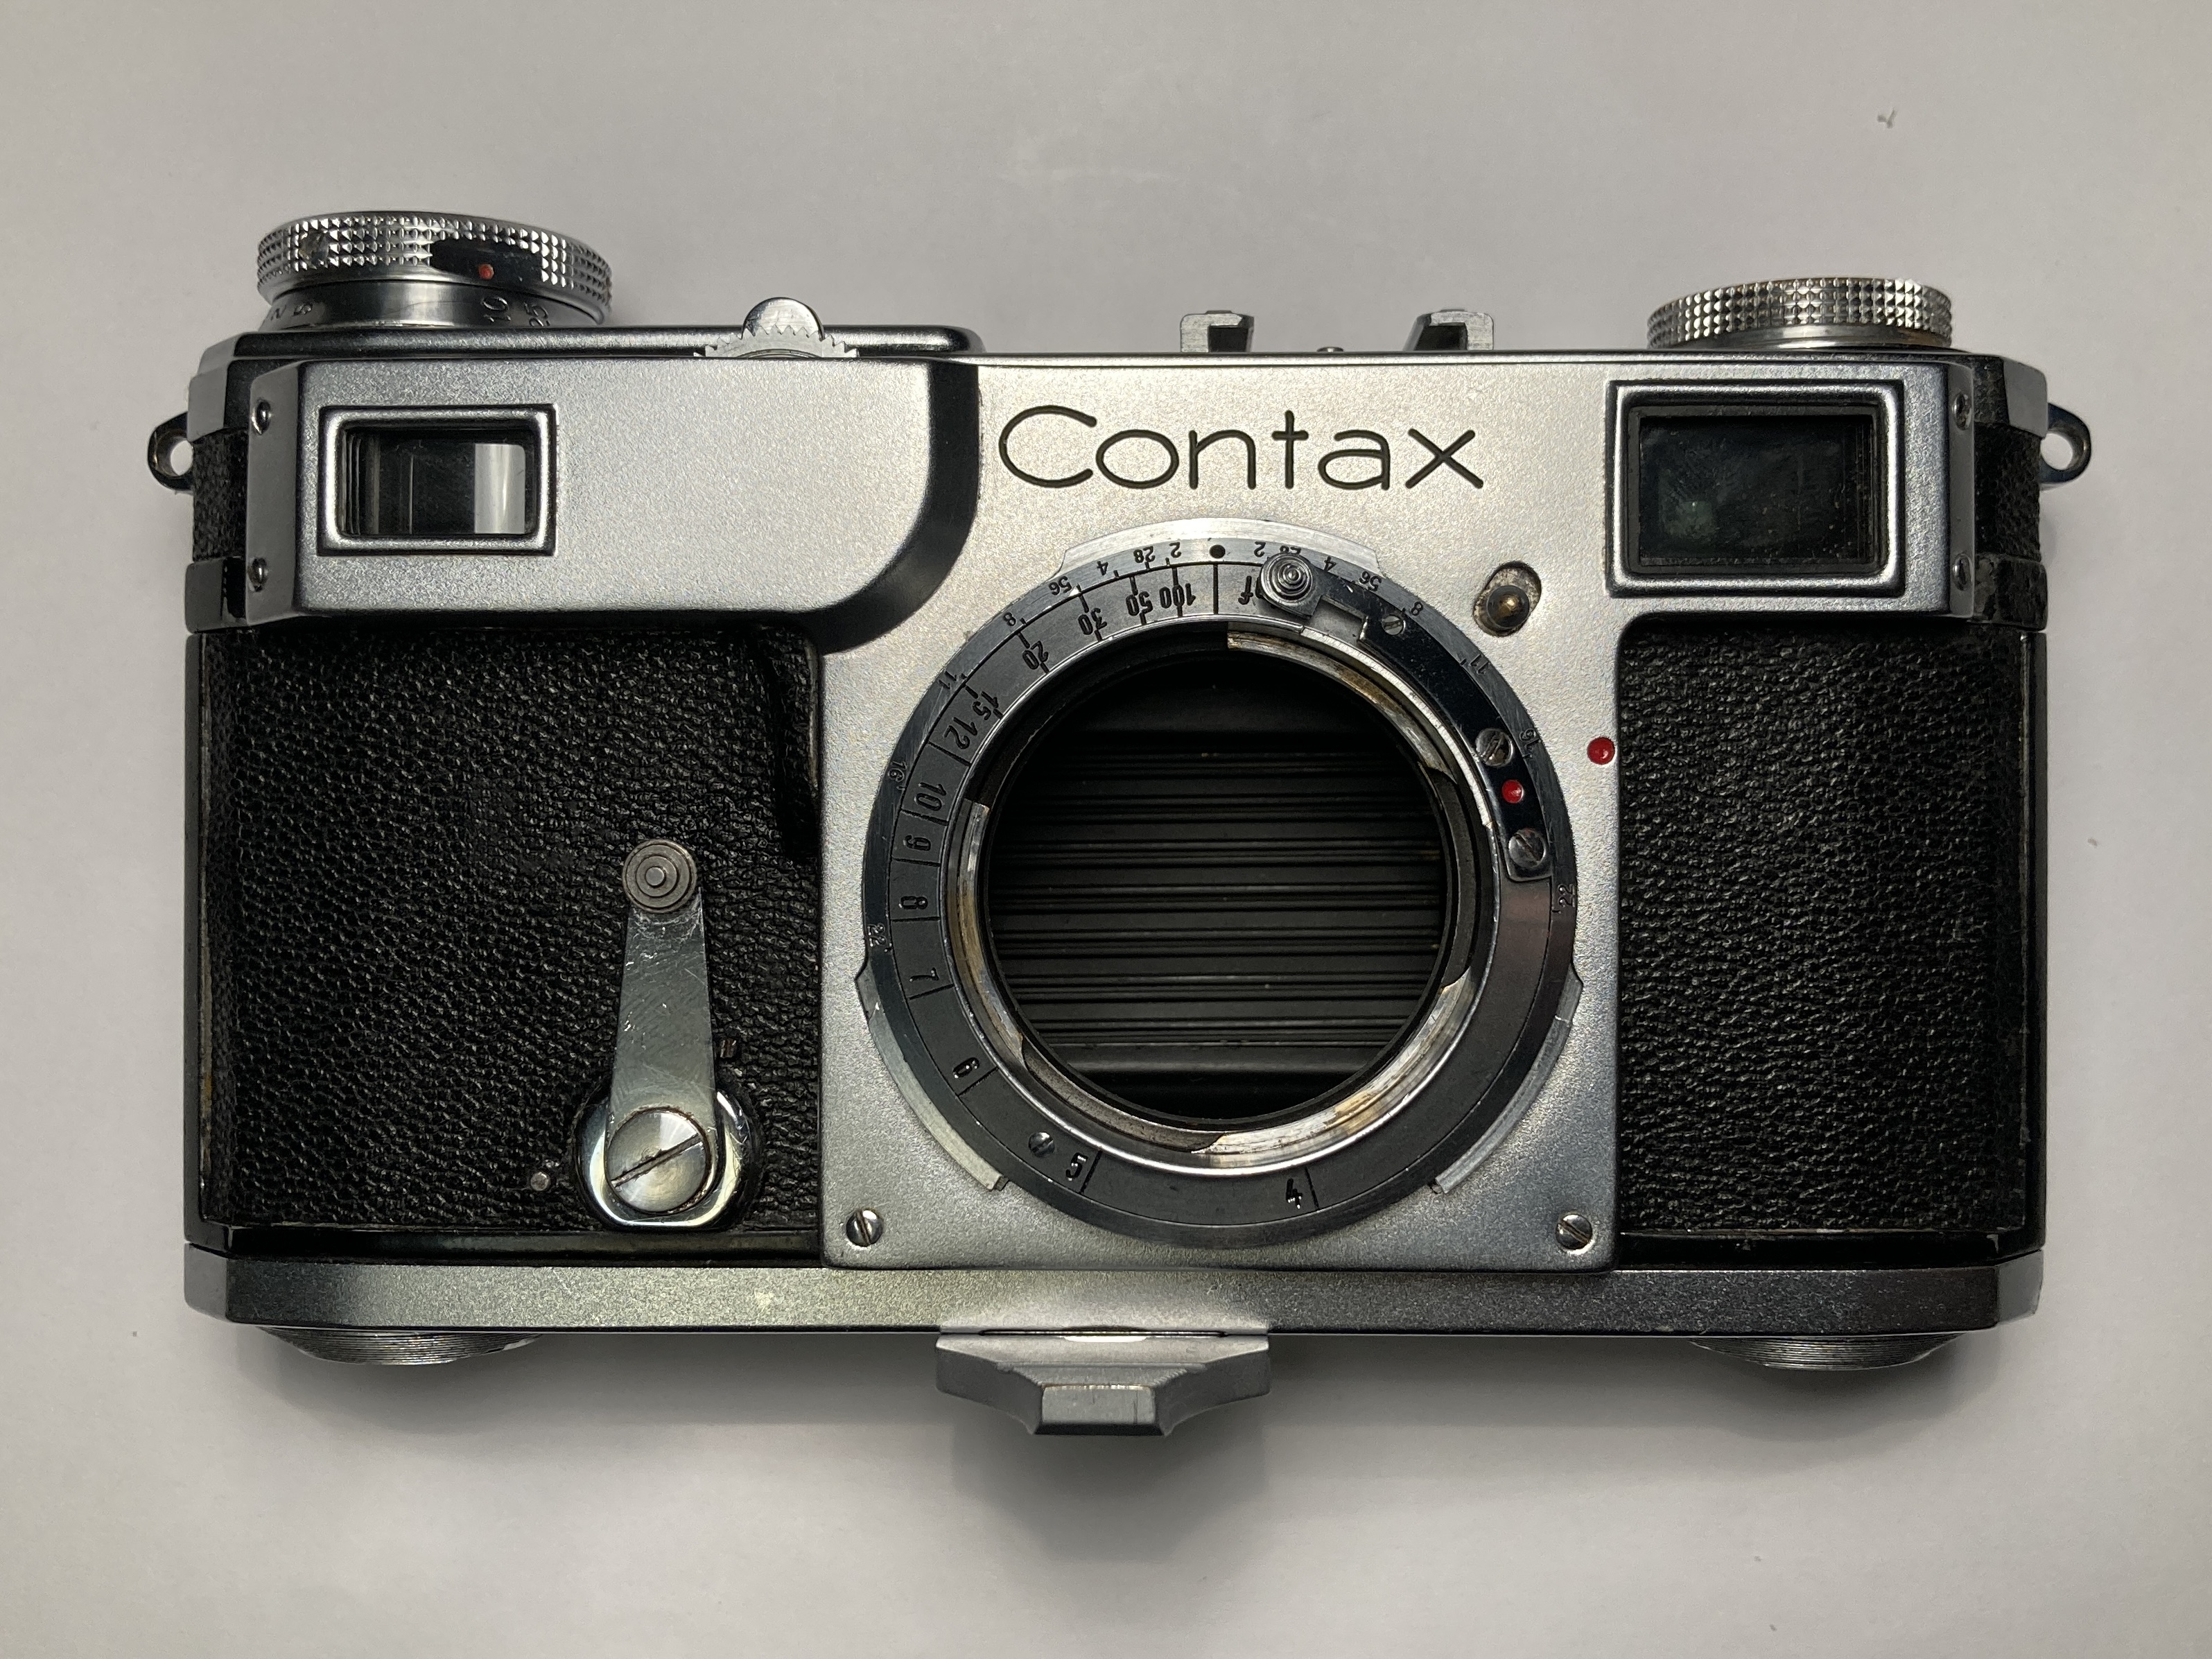
Now that you've bought your Contax II or III camera, it's a good idea to test it to see what needs to be done in terms of repairs. For these cameras, it's not a question of if repairs are necessary, but what repairs are necessary. Carefully analyze all of the functions of the camera. Try winding the shutter. Remove the back of the camera and check the curtains. Look at the lens mount side as well.
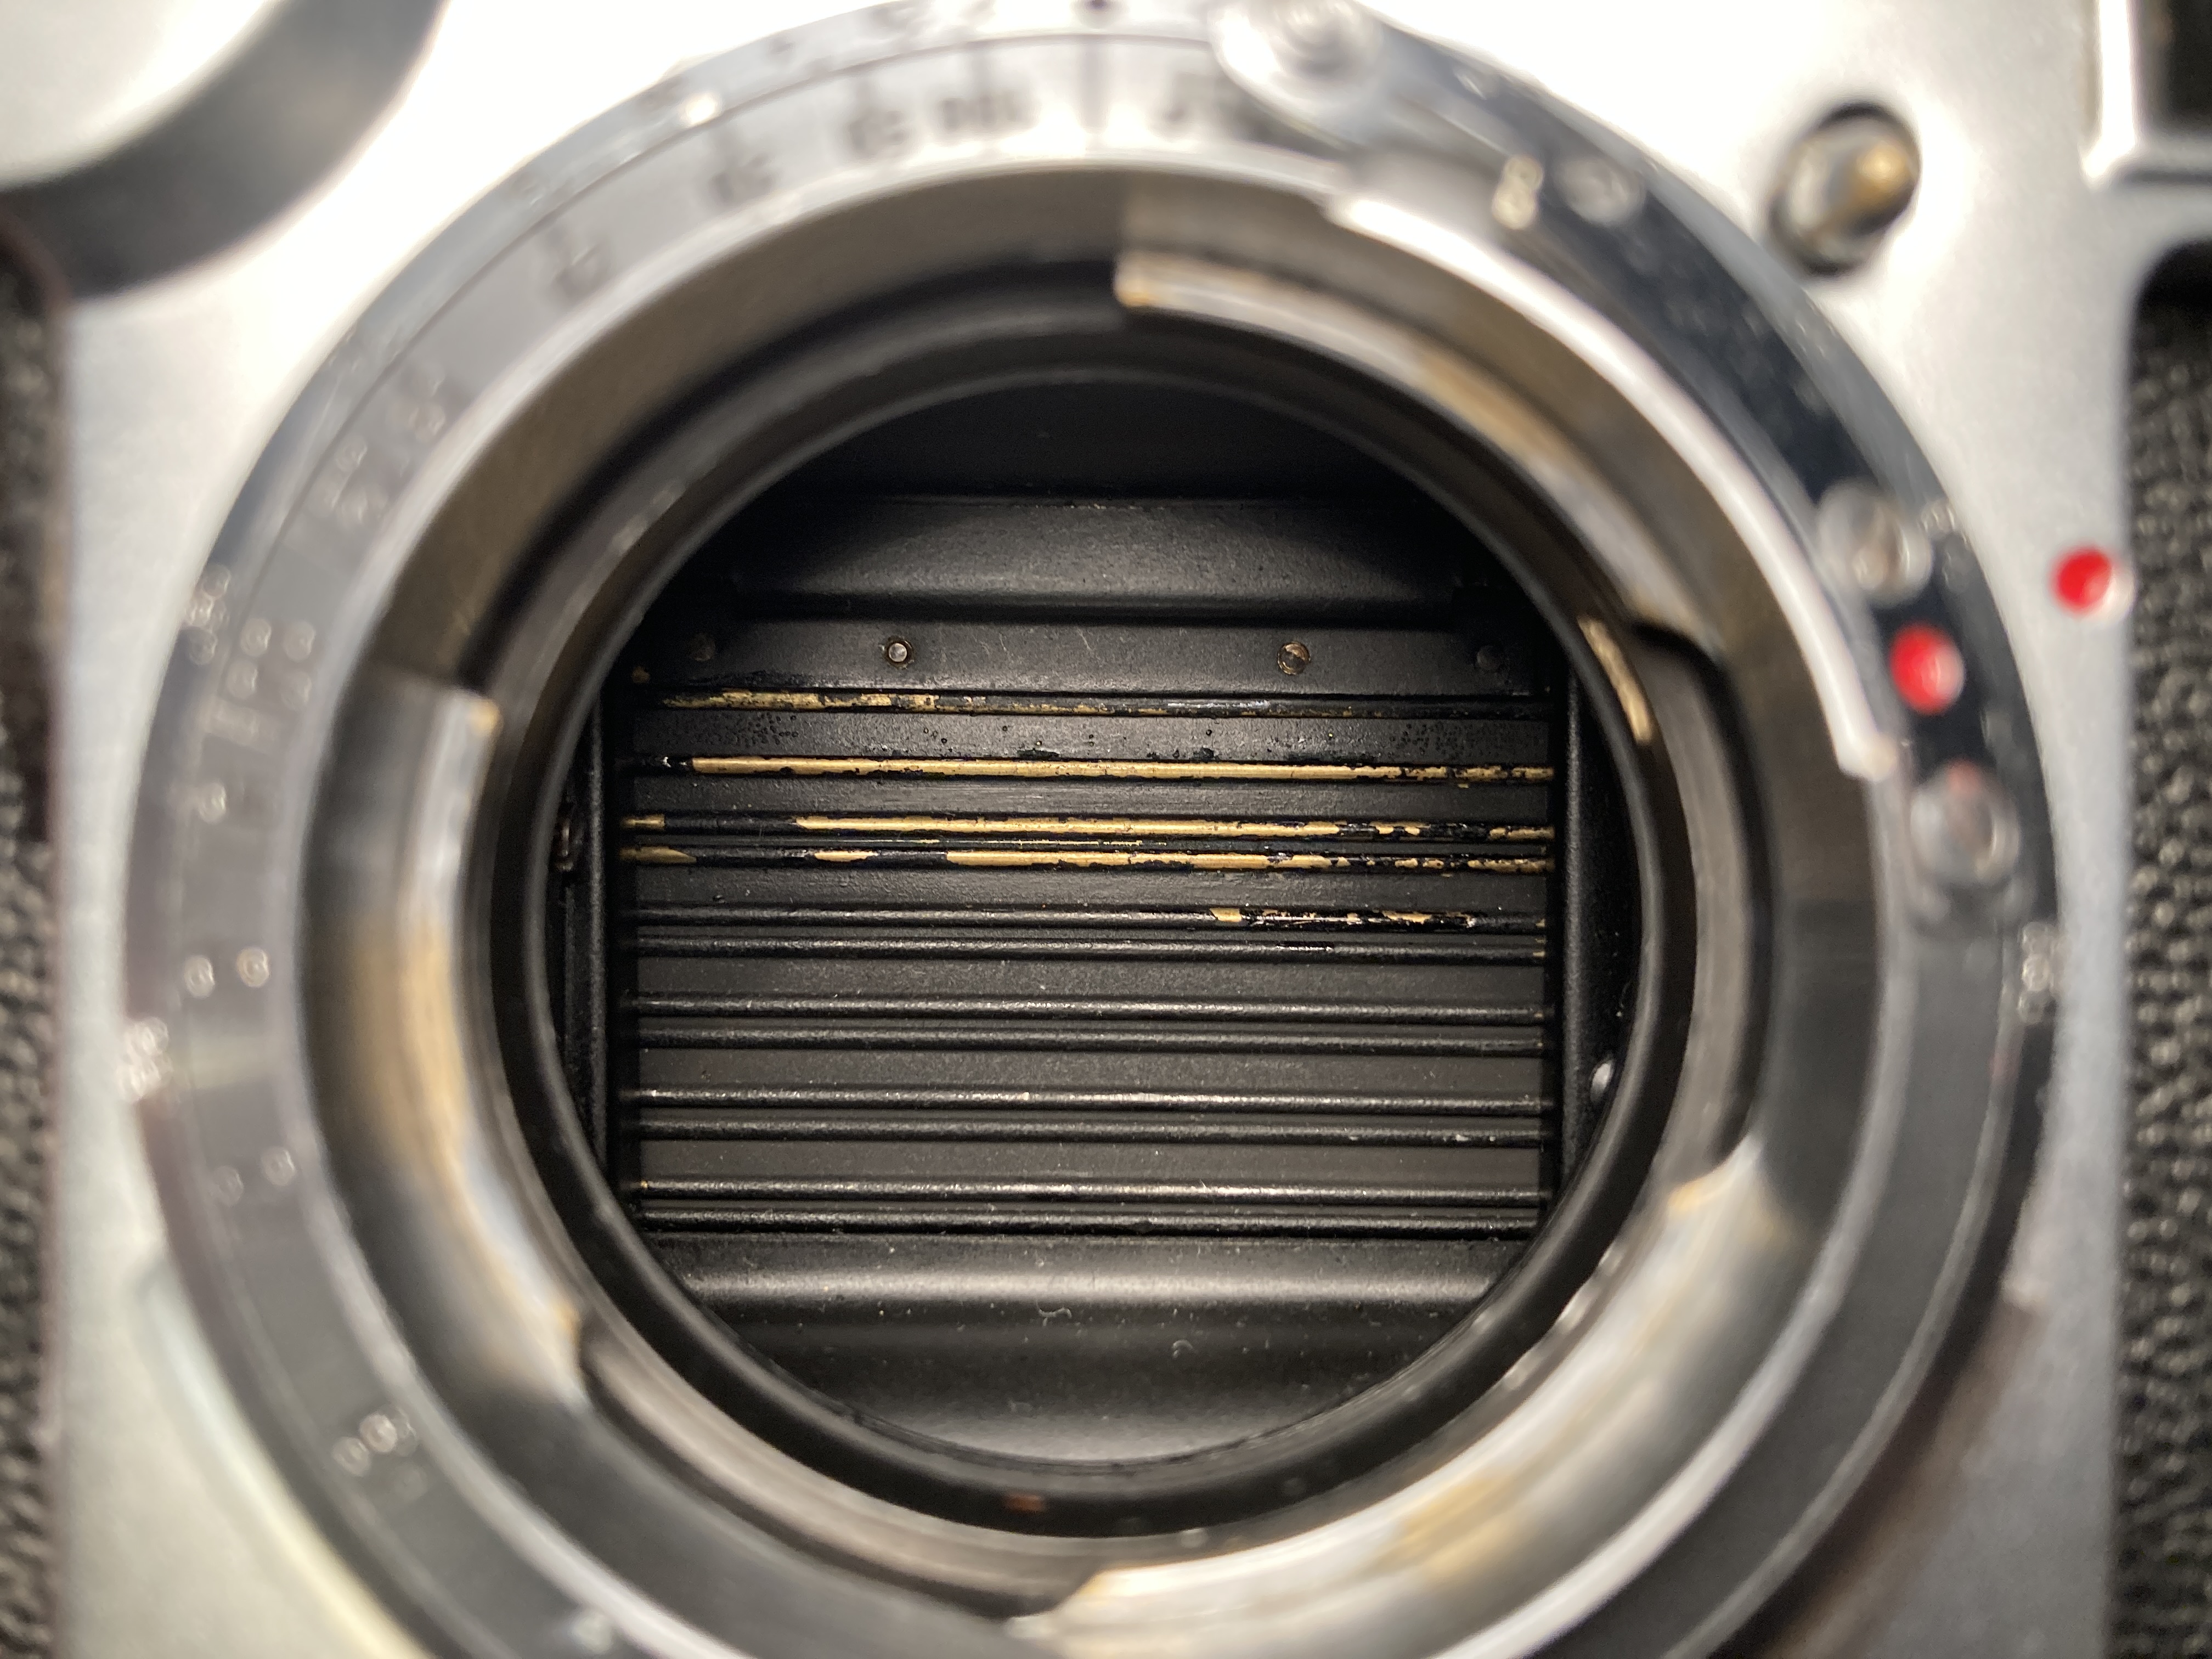
Note the paint loss on the shutter curtain facing the lens mount. This is a result of the chemicals in the leather of the counter weight on the lower shutter roller reacting with the brass of the curtain. The same process causes the "Zeiss bumps" under the camera's leather covering. If your camera has bumps under the leather covering, now is the time to remove the leather. Leaving it on in this condition may cause excessive wear on the spots where the protruding bumps are as you handle the camera. In order to properly clean the camera, various solvents will also be used which may damage the leather. Only don't remove the leather if there are no bumps whatsoever. In order to remove the leather, usually I cautiously use a large but thin flathead screwdriver to pry up the leather rather than any solvents.
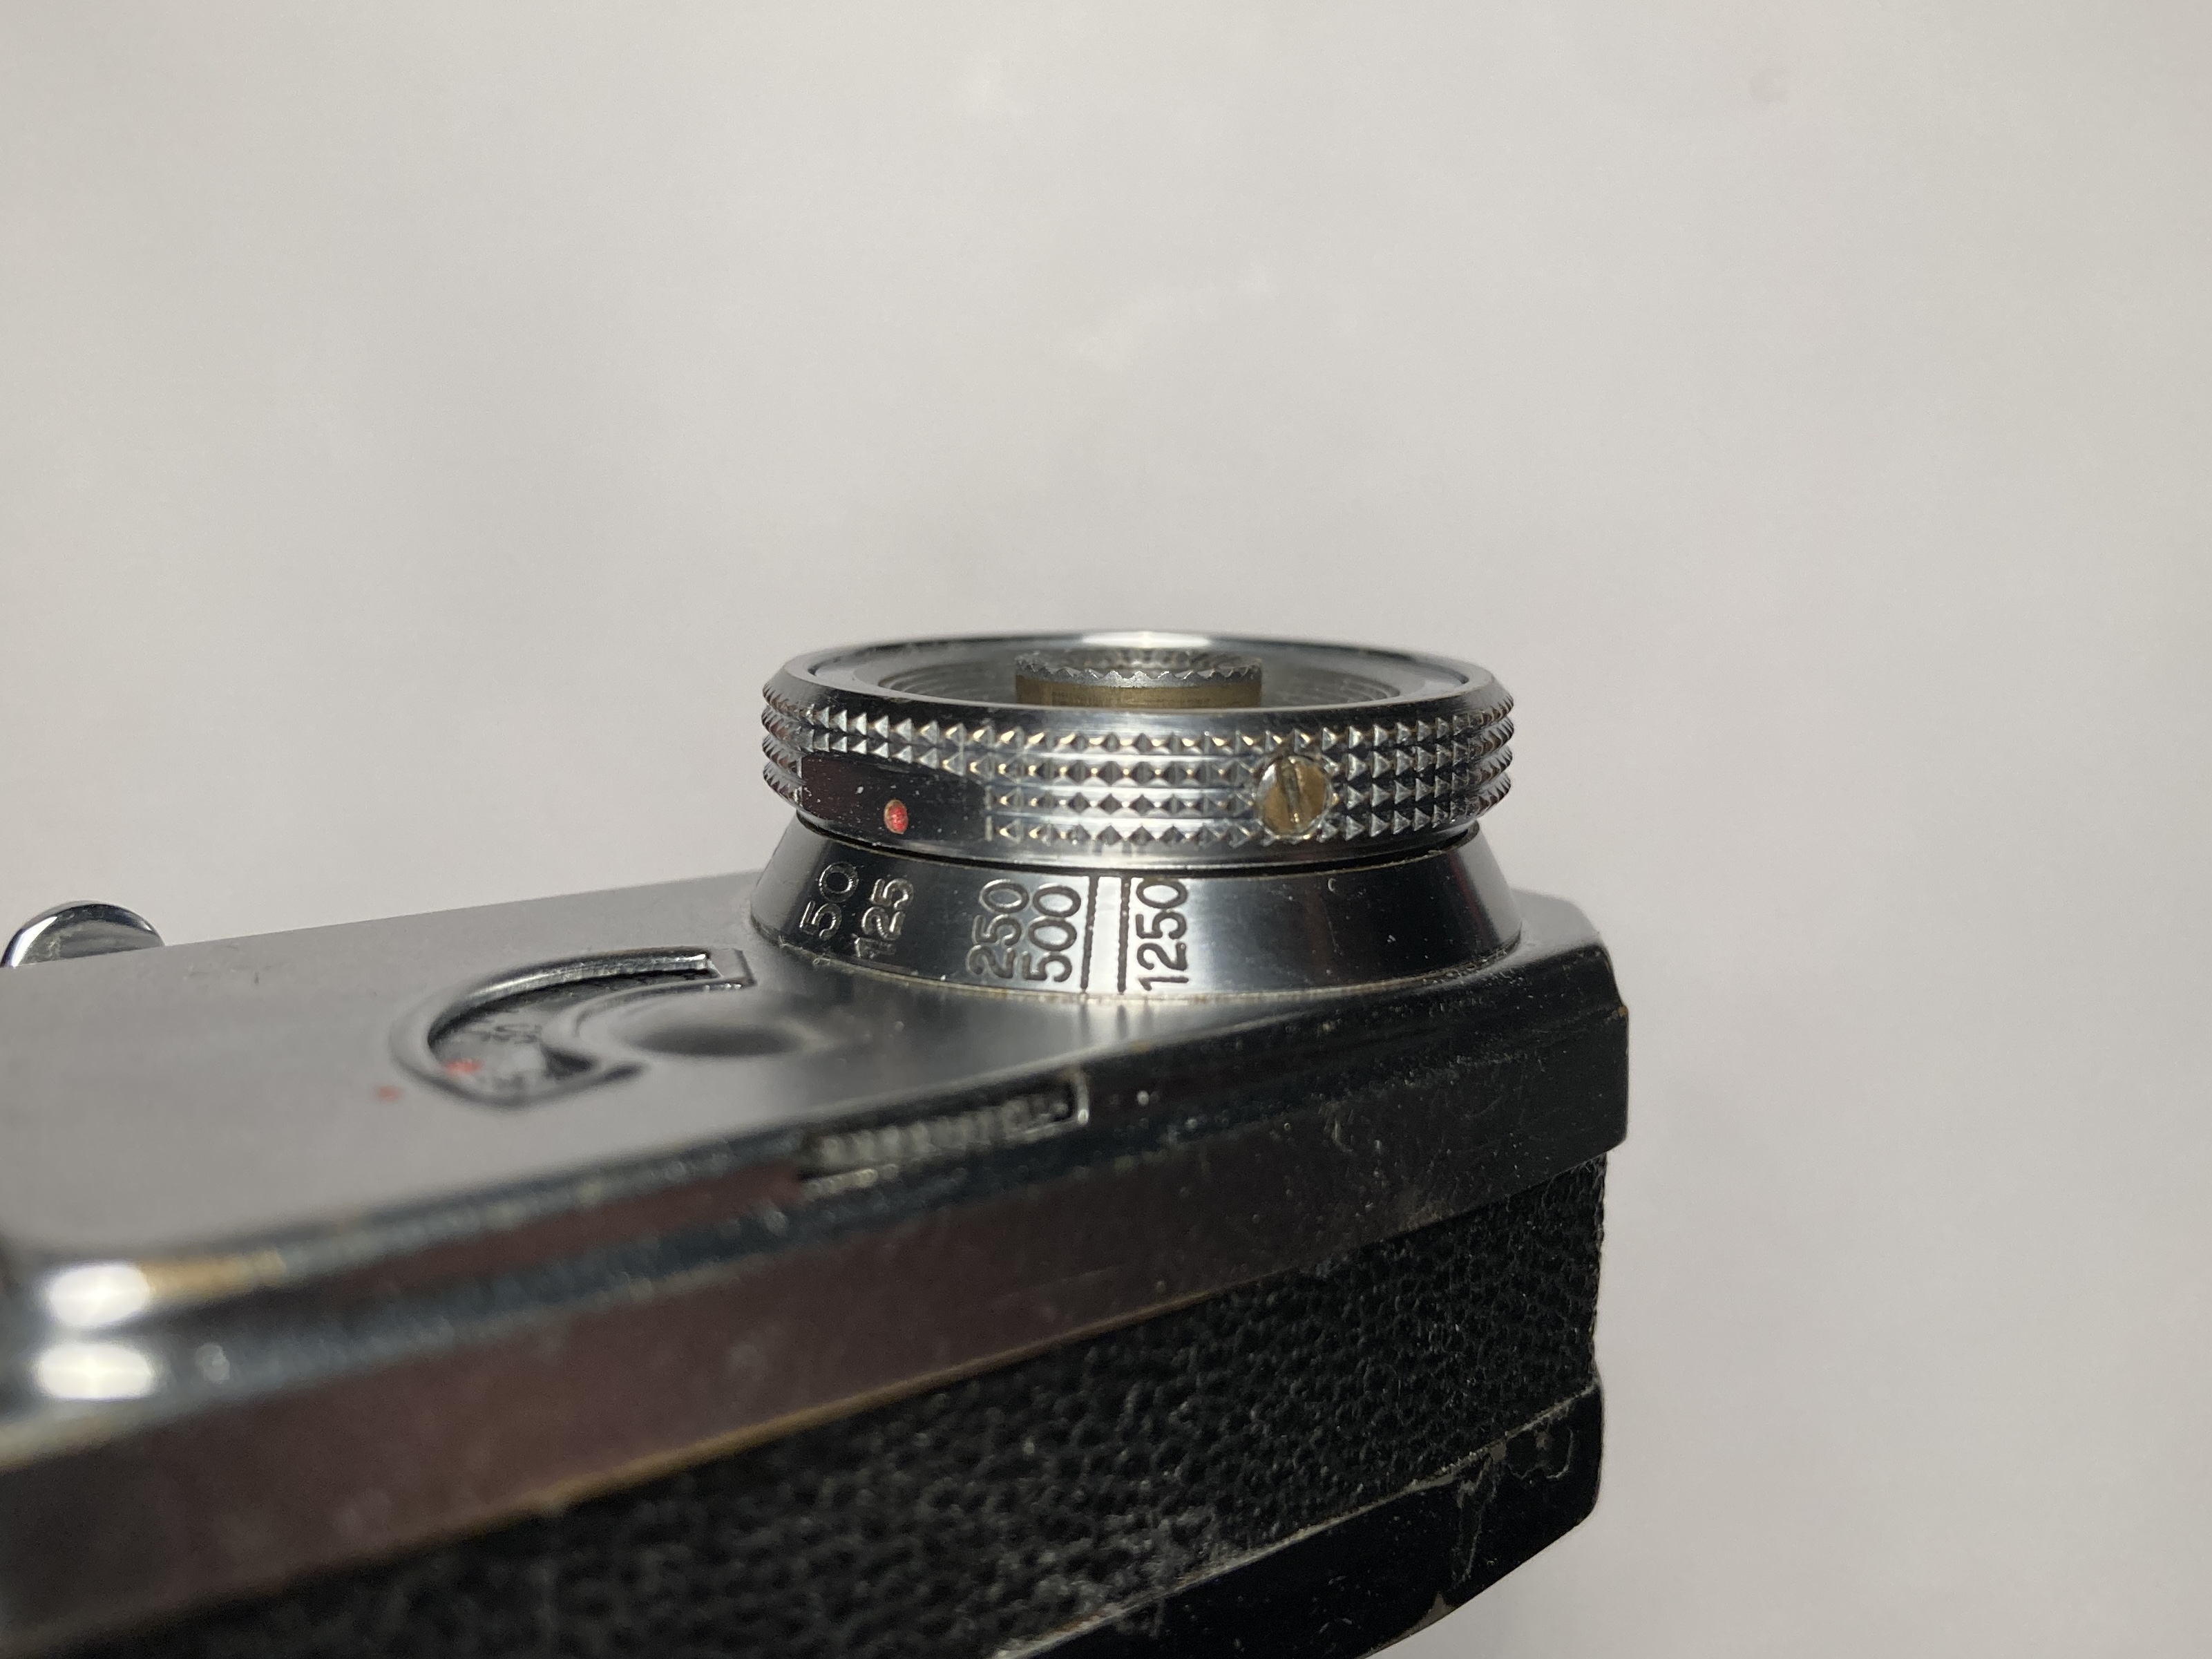

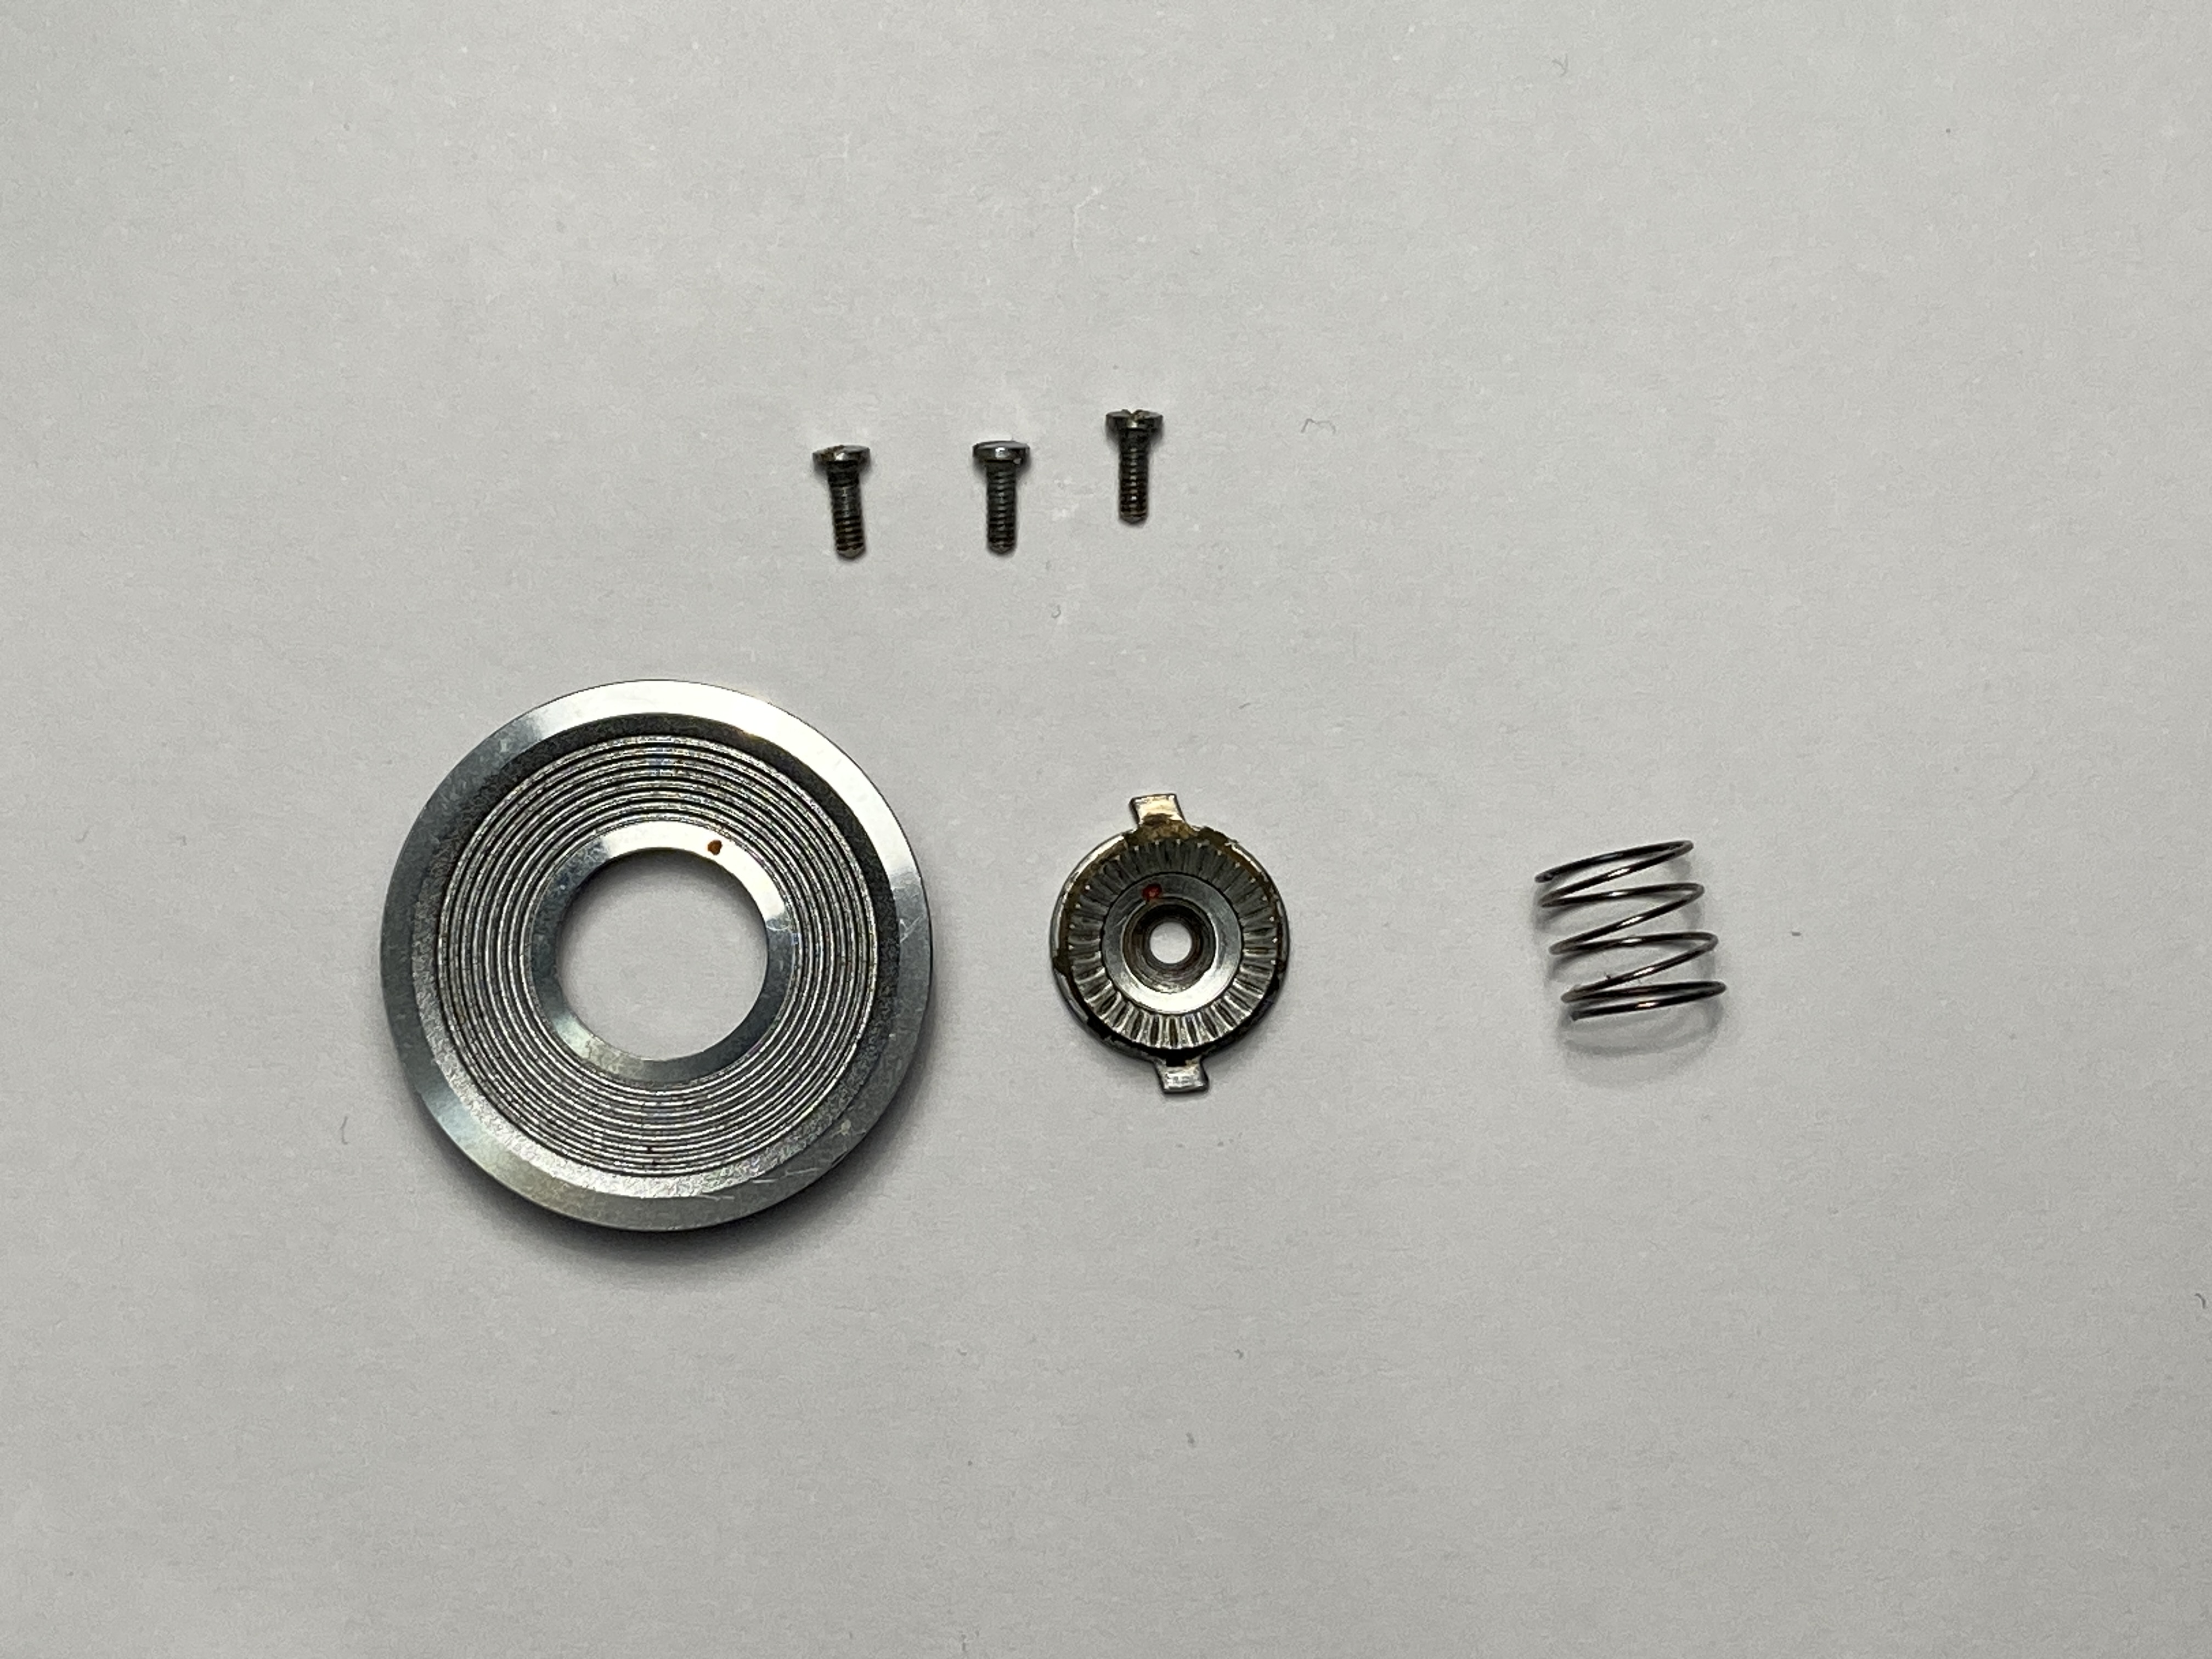
We can begin our repairs starting with the top cover. Often when people try to replace the ribbons on their camera they try to remove the shutter casing by wiggling it free. This is not the way to do it; it is far too difficult and time consuming. Instead, it is best to fully remove the shutter from the camera to allow full access. With this method the shutter casing comes out with the shutter. We start by removing the three screws around the wind knob. Care must be taken not to mar the surface of these screws. A correct size screwdriver is absolutely necessary, especially on these external screws.
